This page contains my Project 1 images. Here I needed to create a banner image and an icon image. I have posted the steps I took to make each image. I attached pictures of each before and after.
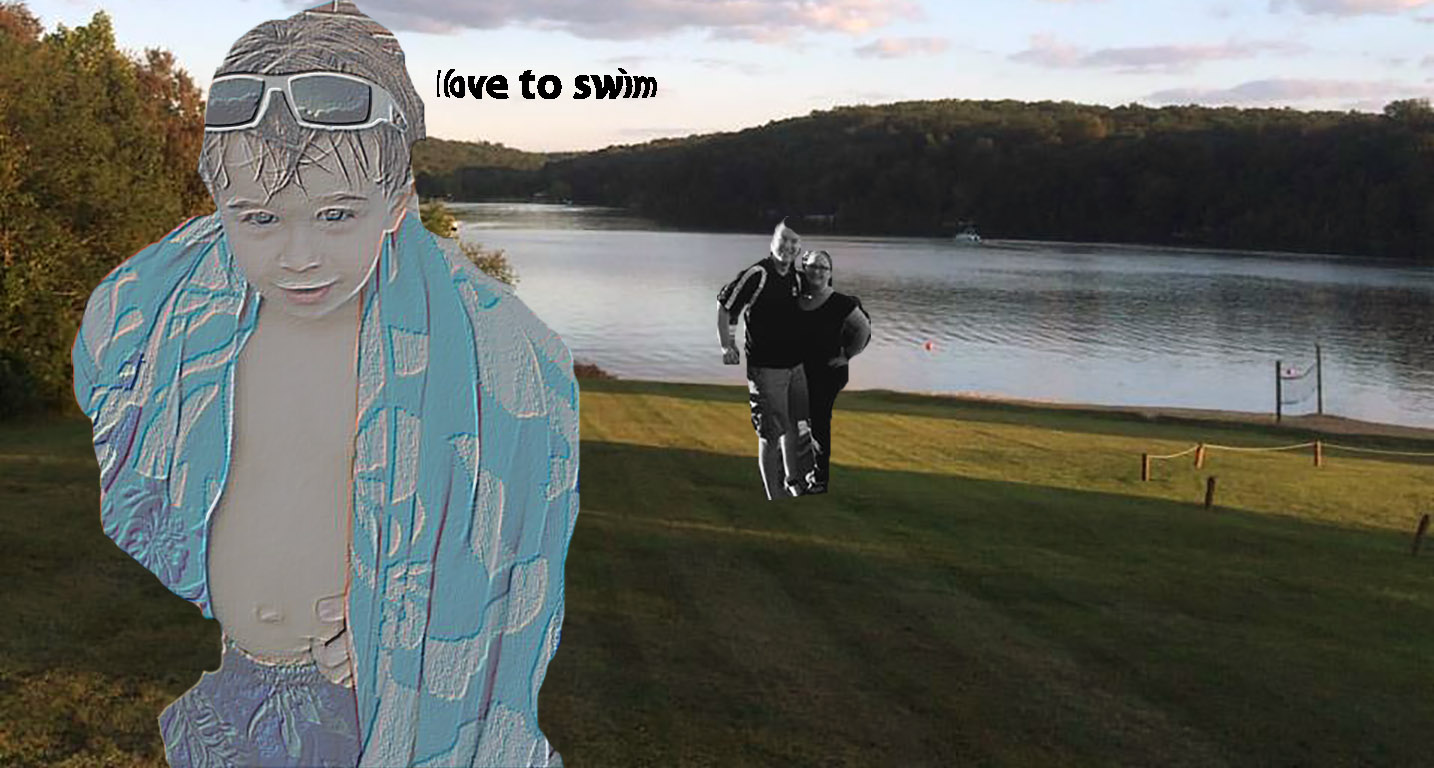
By adding a layer and uploading the background. Making sure to name the new layer “background”. Last cropped the picture to look similar to a banner.
From there I proceeded to add another layer, naming it “text”. Afterwards typing in my text phrase “I love to swim.” I changed the font size to 36 and warped the text to fisheye.
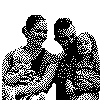
Third, I added a new layer calling it “foreground 1”. Next I opened a picture of my wife and I during our anniversary. I used the lasso to outline us and then I took the eraser and went around the edges and got rid of anything that wasn’t part of what I wanted. I proceeded to cut from that picture and paste into foreground layer.
Last I added a new layer calling it “foreground 2”. I opened a picture of my son Joel at the pool. I used the lasso to go around his body and then cutting it out and pasting it into the foreground two image.
After adjusting the layers where I wanted in the background. I went to image color and changed foreground 2 to black and white.
I clicked on Foreground 2 and changed the layer style to bevel and emboss. While in the layer style menu I also changed the opacity to 75%
I accidentally saved over my rough draft of my image project. I am going to insert my final in the rough draft. Here are the steps I took to modifying my image: